So, you're looking at your driveway, maybe it's got some cracks, or you're dreaming of a brand-new asphalt surface. You're probably wondering, "Can I just do this myself?" It's a fair question, and I get it. We all like to save a buck where we can, especially with the cost of everything these days. But when it comes to asphalt paving, there's a big difference between what makes a good DIY project and what really needs a professional touch.
Before You Even Start: Planning & Prep
Before any dirt gets moved or asphalt gets laid, you've got to plan. This isn't just about drawing a line on the ground, you know? You need to think about drainage, how much traffic the area will see, and what kind of base you're building on. Here in Mesquite, we've got some pretty expansive clay soils, which means your base work is even more critical. If you don't get that right, your asphalt's going to crack and shift faster than you can say "Top Gun Asphalt of Mesquite."
- Permits: Always check with the City of Mesquite's planning department. You might need a permit, especially for new installations or significant expansions. Don't skip this step; it can save you headaches later.
- Underground Utilities: Call 811 before you dig. Seriously. You don't want to hit a water line, gas line, or electrical cable. That's not just dangerous; it's expensive.
- Drainage: This is huge. Water is asphalt's worst enemy. You need to make sure your new surface will shed water away from your house and not create puddles. This often involves grading the land properly, which can be tricky without the right equipment and know-how.
DIY Potential: You can definitely handle the permit research and calling 811. You can also do some basic site clearing, like removing small bushes or debris. But when it comes to serious grading for drainage or digging out a proper sub-base, that's usually where you'll want a pro.
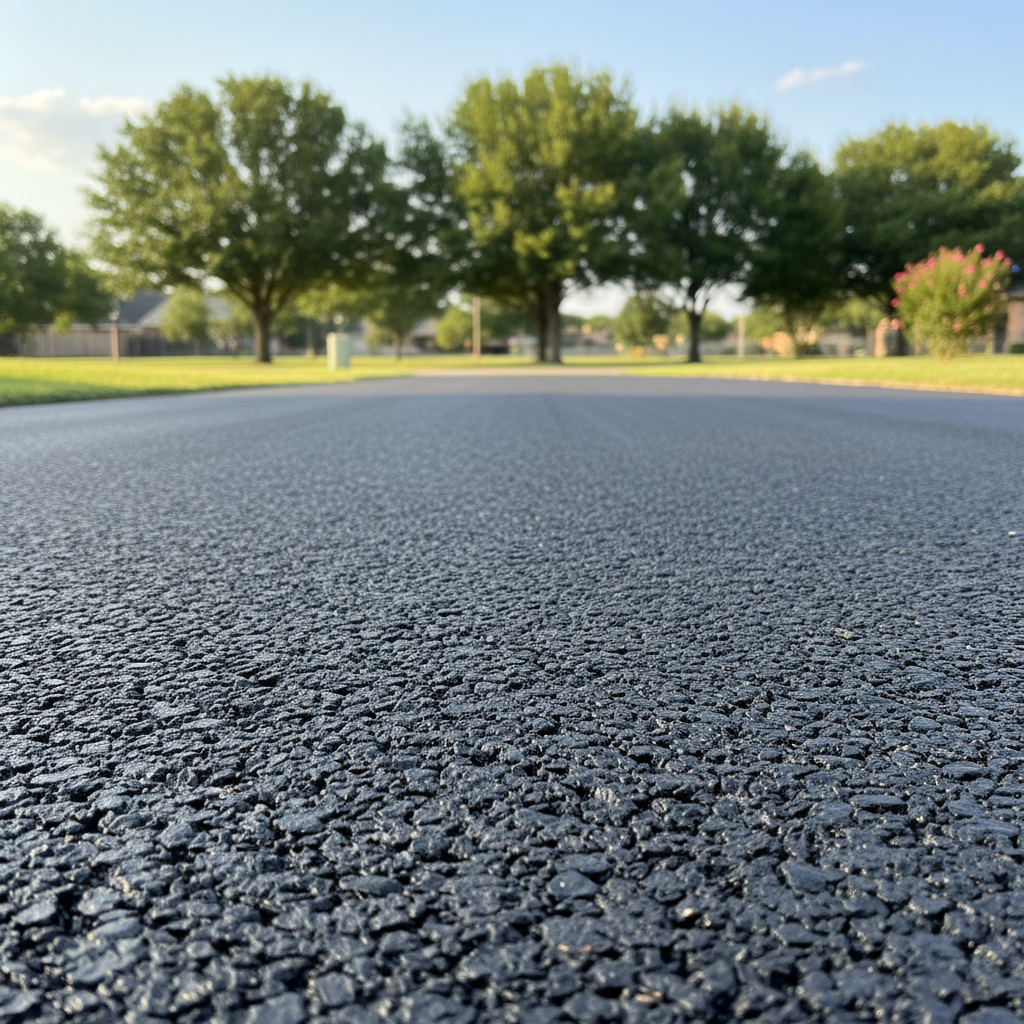
During the Project: Laying the Asphalt
Okay, let's talk about the actual paving part. This is where most homeowners overestimate their capabilities, and it's not their fault – it looks simple enough on YouTube, right? But trust me, it's a whole different ballgame in real life.
- Base Preparation: This is the foundation. It needs to be compacted evenly and to the right thickness. For driveways, we're usually talking about 6-8 inches of compacted aggregate. You'll need heavy equipment for this – a plate compactor or a roller. Renting one is possible, but using it effectively takes practice.
- Asphalt Mix: You're not just buying asphalt from a bag at Home Depot. We're talking about hot mix asphalt, delivered by specialized trucks, and it needs to be laid and compacted while it's still hot. It cools down fast, especially on a breezy Mesquite day.
- Spreading and Compacting: This is the hardest part. You need to spread the asphalt quickly and evenly, then compact it with a heavy roller. If you don't get the compaction right, you'll have a weak, porous surface that won't last. Uneven spreading leads to bumps and dips.
DIY Potential: For small patch repairs, like filling a pothole with cold patch asphalt, you can totally do that yourself. For anything larger than a few square feet, or if you're thinking of paving a whole driveway, you're going to need a professional paving crew. We have the right equipment, the experienced operators, and the knowledge to get the job done right the first time. Trying to do a full paving job yourself often ends up costing more in the long run when you have to call someone like me to fix it.
After the Project: Curing & Initial Care
Once the asphalt is down, your job isn't quite over, even if a pro did the paving. The asphalt needs time to cure and harden properly.
- Stay Off It: For a new driveway, you'll usually need to stay off it for at least 24-48 hours, sometimes longer depending on the weather and mix. Heavy vehicles might need even more time.
- Avoid Heavy Turning: For the first few weeks, avoid turning your steering wheel sharply while your vehicle is stationary. This can scuff and damage the new surface.
- Sealcoating: After about 6-12 months, you'll want to consider sealcoating. This protects your asphalt from UV rays, water, and oil spills, extending its lifespan significantly.
DIY Potential: You can absolutely manage the initial care, like staying off the driveway and being careful with turns. Sealcoating is something many homeowners attempt, and for a small, simple driveway, it's doable. But it's messy, takes practice to get an even coat, and choosing the right product is key. For larger areas or if you want a really professional finish, a contractor is still your best bet.
Look, I'm all for homeowners tackling projects they can handle. But asphalt paving is a pretty specialized trade. You're dealing with heavy materials, expensive equipment, and a process that requires precision and speed. For anything beyond a small patch, you're usually better off trusting it to the folks who do it every day. It'll save you time, money, and a whole lot of frustration in the long run.